Set up a Yealink desk phone
Add a Yealink phone with its MAC address and let it configure itself.
Written By Axel Molist
Last updated About 1 month ago
Add the phone in Olatti with its MAC address, plug it in, and it configures itself. No SIP settings, no config files.
Before you start
A supported Yealink phone. Olatti sells the T31W, T73U, T87W, T88W Pro, the CP935W conference phone and the W59R and W56H cordless handsets.
The phone's MAC address, printed on a label on the back or underneath, twelve characters like
80:5E:C0:12:34:56.If the phone came from another provider, it may still be registered to their provisioning server. See Removing a Yealink phone from a third-party provisioning server first.
Steps
Go to Settings > Profile and open the Devices tab.
Click Add device.
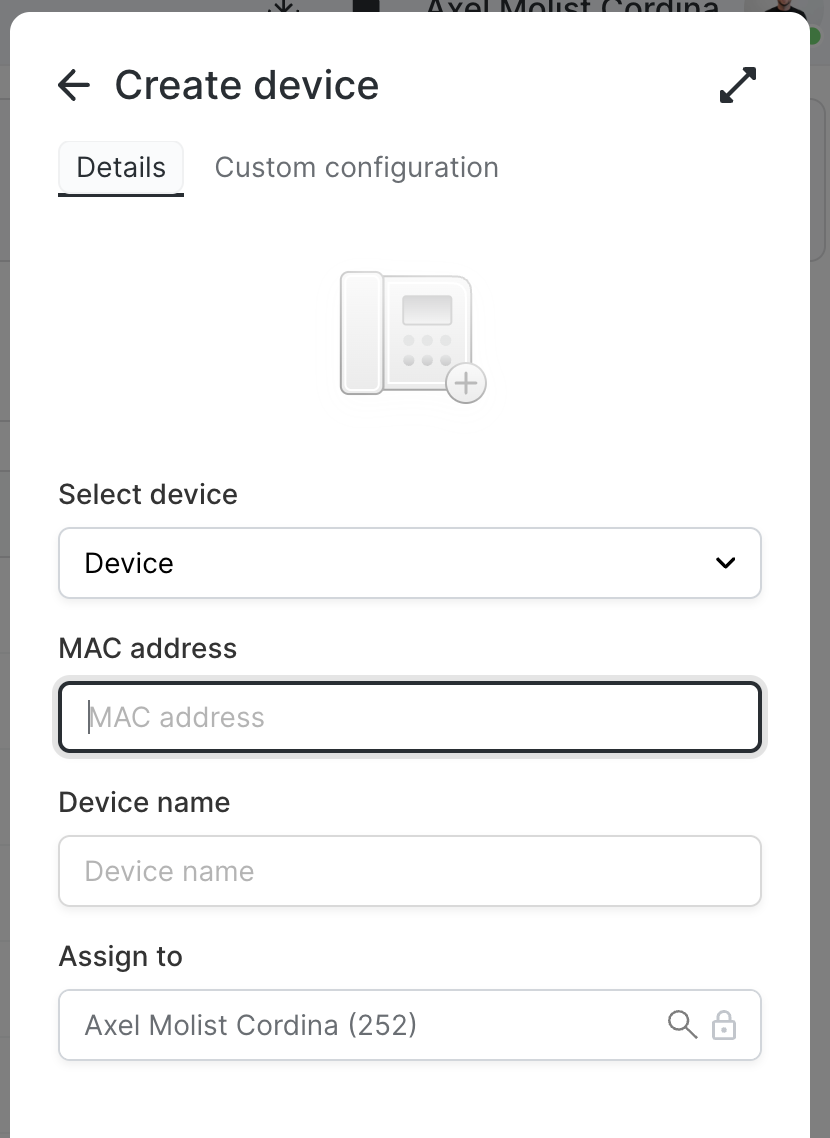
Under Select device, choose the phone model.
Type the MAC address.
Give it a Device name, such as "Reception desk".
Assign to is the person whose calls it will ring. Leave it as you, or pick a colleague.
Click Add.
Connect the phone to power and the network, or Wi-Fi for the wireless models, and let it boot. If it was already on, restart it.
Within a couple of minutes the phone registers and appears as Online in the Devices list. It re-syncs its settings from Olatti once a day, so later changes reach it automatically.
Good to know
The Custom configuration tab on the Add device panel is for advanced settings. You won't need it for a standard setup.
Use Manage voicemail PIN under Settings > Voicemail to set the PIN you'll enter on the handset to hear messages.
Emergency calls from a desk phone go to the address registered against the number it uses. Keep that address correct, and keep a mobile to hand in case of a power cut.
Related
Was this helpful?
Still need help? Ask the team